Stripe
Overview
Stripe App is a payment integration app that allows merchants to accept online payments from customers using Stripe as their payment processor. Stripe is a popular global payment provider that offers a range of payment methods, including credit cards, bank transfers, and digital wallets.
You can find an example of using the Stripe App at https://github.com/saleor/example-nextjs-stripe/.
To configure the Stripe App, you must have an account with Stripe.
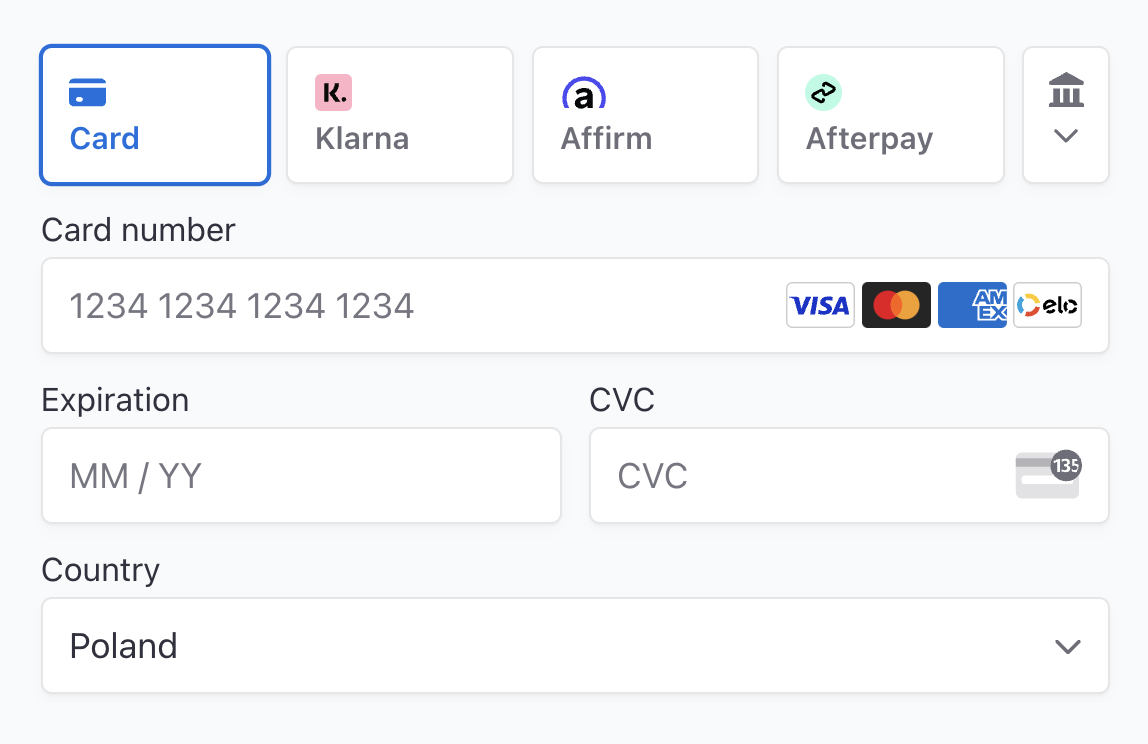
The Stripe App allows for integrations with Stripe Payment Element, meaning it can be used on Web, iOS, Android, and React Native. Under the hood, it creates Stripe Payment Intents and handles calculations of total and balance in Saleor automatically.
Stripe App uses Stripe API version 2022-11-15.
Capabilities
The Stripe App implements the following Saleor synchronous events related to transactions:
PAYMENT_GATEWAY_INITIALIZE_SESSIONTRANSACTION_INITIALIZE_SESSIONTRANSACTION_PROCESS_SESSIONTRANSACTION_CHARGE_REQUESTEDTRANSACTION_CANCEL_REQUESTEDTRANSACTION_REFUND_REQUESTED
Furthermore, it's also prepared to handle Stripe incoming webhooks.
Stripe App follows the flow described in detail in the Saleor Payment App documentation.
Configuration
For Stripe to appear as available payment gateway, you need to install it in the Saleor Dashboard. You must obtain the Secret Key and Publishable Key from Stripe and paste it into the Stripe App configuration form. Webhooks to receive notifications from Stripe will be configured automatically.
Stripe App doesn't work with Restricted Keys.
Usage in Storefront or mobile apps
Stripe App can be used to integrate with Stripe APIs. By using a set of GraphQL mutations, one can interact with Stripe to authorize, capture, refund, and cancel payments.
Getting payment gateways
The first step is to fetch the Checkout object including availablePaymentGateways field. The availablePaymentGateways field contains a list of payment gateways available for given checkout. The Stripe App should be one of the payment gateways available in the list. Its id is app.saleor.stripe - defined in app's manifest.
query {
  checkout(id: "Q2hlY2tvdXQ6YWY3MDJkMGQtMzM0NC00NjMxLTlkNmEtMDk4Yzk1ODhlNmMy") {
    availablePaymentGateways {
      id
      name
    }
  }
}
The response:
{
  "data": {
    "checkout": {
      "availablePaymentGateways": [
        {
          "id": "app.saleor.stripe",
          "name": "Stripe"
        }
      ]
    }
  }
}
availablePaymentGateways may contain other Payment Apps as well as older Payment Gateways (plugins) configured in the Dashboard. You should ignore the ones that you don't want to use for a specific checkout.
Paying with Stripe Payment Element
To initialize the Stripe Payment Element, one needs to create a transaction in Saleor by calling the transactionInitialize mutation.
mutation StripeTransactionInitialize($data: JSON!) {
  transactionInitialize(
    id: "Q2hlY2tvdXQ6YWY3MDJkMGQtMzM0NC00NjMxLTlkNmEtMDk4Yzk1ODhlNmMy"
    amount: 54.24
    paymentGateway: { id: "app.saleor.stripe", data: $data }
  ) {
    transactionEvent {
      pspReference
      amount {
        amount
        currency
      }
      type
    }
    data
    errors {
      field
      message
      code
    }
  }
}
Where $data is an object passed to Stripe API to create a Payment Intent, for example:
{
  "automatic_payment_methods": {
    "enabled": true
  }
}
The mutation returns the TransactionInitialize response:
{
  "data": {
    "transactionInitialize": {
      "transactionEvent": {
        "pspReference": "XXXX9XXXXXXXXX99",
        "amount": {
          "amount": 54.24,
          "currency": "EUR"
        },
        "type": "CHARGE_REQUESTED"
      },
      "data": {
        "paymentIntent": {
          "client_secret": "…"
        },
        "publishableKey": "…"
      },
      "errors": []
    }
  }
}
client_secret and publishableKey can be used to initialize the Stripe Payment Element.
You can find a working example in this repository: saleor/example-nextjs-stripe
Modifying the payment intent
You can use the transactionProcess mutation to modify the payment intent. For example:
mutation StripeTransactionProcess($data: JSON!) {
  transactionProcess(
    id: "Q2hlY2tvdXQ6YWY3MDJkMGQtMzM0NC00NjMxLTlkNmEtMDk4Yzk1ODhlNmMy"
    data: $data
  ) {
    transactionEvent {
      pspReference
      amount {
        amount
        currency
      }
      type
    }
    data
    errors {
      field
      message
      code
    }
  }
}
Where $data is an object passed to Stripe API to edit a Payment Intent, for example:
{
  "automatic_payment_methods": {
    "enabled": true
  }
}
Retrieving publishable key
In some cases, you might want to just retrieve the publishable key without creating any transactions in Saleor. This is particularly useful on a payment summary page where you want to display the details of Stripe Payment Intent. To do so, paymentGatewayInitialize mutation can be used:
mutation PaymentGatewayInitialize($checkoutId: ID!) {
  paymentGatewayInitialize(
    id: $checkoutId
    amount: 0
    paymentGateways: [{ id: "app.saleor.stripe" }]
  ) {
    gatewayConfigs {
      id
      data
      errors {
        field
        message
        code
      }
    }
    errors {
      field
      message
      code
    }
  }
}
The response:
{
  "data": {
    "paymentGatewayInitialize": {
      "gatewayConfigs": [
        {
          "id": "app.saleor.stripe",
          "data": {
            "publishableKey": "pk_test_…"
          },
          "errors": []
        }
      ],
      "errors": []
    }
  }
}
You can find an example of using the Stripe App at https://github.com/saleor/example-nextjs-stripe/.
Development
To run the Stripe App locally:
- Go to the app directory.
- Copy the
.env.examplefile to.env.The.envshould contain the following variables:
Stripe App is a Next.js application. If you want to learn more about setting environment variables in Next.js, head over to the documentation.
SECRET_KEY (required)
A randomly generated key for the encryption of Settings Manager. At least 8 characters long.
APL (optional)
Name of the chosen implementation of the Authentication Persistence Layer.
When no value is provided, FileAPL is used by default. See saleor-app.ts in the app directory to see supported APLs.
APP_DEBUG (optional)
The logging level for the app. The possible values are: trace, debug, info, warn, error, fatal, and silent. The default value is info which means that some information will be logged into the console.
You can read more about our logger in its documentation.
Running app in development mode
To run the app in development mode, run the following command:
pnpm i
pnpm dev
pnpm 8.0.0 or higher is required to run the app.
The app will be available at http://localhost:3000.
To test Stripe Webhooks, you need to expose your local server to the internet (tunnel). You can use Saleor CLI or Stripe CLI to do that. See this guide for more details.
Running tests
To run tests, one needs to provide additional environment variables. Copy the .env.test file to .env.test.local.The .env.test.local should contain the following variables:
| env variable name | required? | description | example |
|---|---|---|---|
TEST_SALEOR_API_URL | required | Full URL to the Saleor GraphQL endpoint | https://saleor.cloud/graphql/ |
TEST_SALEOR_APP_TOKEN | required | AppToken | 3DZ7CbFTyPETthDixPtFpPysoKG4FP |
TEST_SALEOR_APP_ID | required | App.id | QXBwOjk= |
TEST_SALEOR_JWKS | required | stringified JWKS | "{\"keys\": [{\"kty\": \"RSA\", \"key_ops\": [\"verify\"], \"n\": \"...\", \"e\": \"AQAB\", \"use\": \"sig\", \"kid\": \"1\"}]}" |
TEST_PAYMENT_APP_SECRET_KEY | required | Secret Key from Stripe | sk_test_51LVZwxEosE… |
TEST_PAYMENT_APP_PUBLISHABLE_KEY | required | Publishable Key from Stripe | pk_test_51LVZwxEos… |
TEST_PAYMENT_APP_WEBHOOK_ID | required | ID of a webhook | we_1JaGFlH1Vac4G4dbZnQ8bviV |
TEST_PAYMENT_APP_WEBHOOK_SECRET | required | Webhook Secret from Stripe | whsec_c09e3d87… |
Then run the following command:
pnpm test